Starting your business journey? These articles will provide a complete guide on how to set up your store from scratch. Learn how to customize your store, select products, and set pricing. We cover everything from account creation to fine-tuning details, ensuring you’re ready to launch smoothly.
5 Steps for Kirana Stores After Launch
Once your store is live, complete this simple checklist to unlock more features, earn faster, and grow your business.
1. Request Your Free QR Stand
Go to your dashboard and click Request a QR.
If you are a Kirana store owner, you can request a free QR stand.
Our team will confirm with you and send it.
Place the QR on your counter so customers can scan and shop directly from your store.
2. Become a VIP within 15 Days
If you get your first sale within 15 days of launch, you become a VIP Store Owner.
VIP benefits:
Telephone support for quick help.
Extra VIP margins (+10–15%) on selected products.
₹100 credited to your wallet to cover the minimum balance, so you can withdraw what you earn from day 1
Your checklist will unlock the next benefits automatically.
3. Refer Another Store Owner to Unlock COD
Invite a friend or another Kirana store owner to open their store before given time.
If they launch their online store with your link, COD will unlock for your customers.
You will also earn 2% commission on every sale your friend will make.
If you are late, complete 3 prepaid orders to unlock COD.
Referring helps you build a network and earn extra without extra work.
4. Add Your Bank Details
Go to Settings → Bank Details.
Enter Name, Account Number, IFSC and save.
Your bank will send ₹1–₹3 to verify (one-time fee).
Once verified, your wallet is activated.
Minimum withdrawal is ₹100, this rule helps remove bank charges on every transaction.
5. Unlock COD (Cash on Delivery)
After completing 3 successful prepaid orders, you unlock COD option for your customers.
COD builds trust, because many customers like paying when they receive the product.
Conclusion
Completing this checklist ensures your store runs smoothly and earns more. From getting your free QR stand to unlocking COD, each step helps you grow faster and serve your customers better.
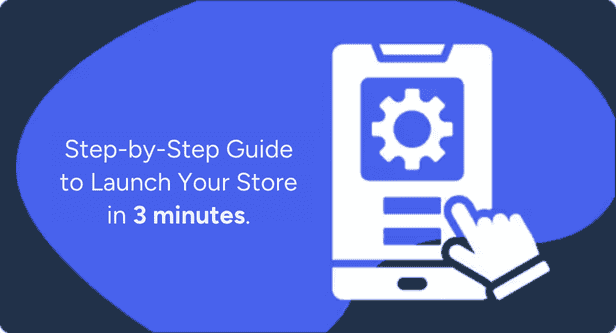
Step-by-Step Guide to Launch Your Store in 3 minutes
Launching your store is simple and quick. Just follow these steps and your shop will be live in a 3 minutes.
Step 1: Click on Get Started on home page
To get started, open the Wcommerce.store & click on Get Started on your phone or desktop.
Enter your mobile number (e.g., +91 9653534679).
Click Continue.
Step 2: Open WhatsApp and Copy the OTP
After entering your number, you’ll receive a 4-digit OTP on your WhatsApp.
Enter the OTP you received (e.g., 5784).
Click Continue to verify your number.
Step 3: Create Your Profile
Now, it’s time to set up your profile.
Enter your First Name (e.g., Subham).
Enter your Last Name (e.g., Kumar).
Click Create Profile once done.
Step 4: Enter Your Address
Enter your Address.
Add a Landmark (optional).
Enter your Pincode.
Your City and State will auto-fill.
Click Confirm.
Step 5: Create Your Store
Now it’s time to create your store.
Enter your Store Name.
Your store name becomes your store link (example: Maa Kali General Store → maa-kali-general-store.wcommerce.store).
Click on Verify to verify your Store Link.
Add a Store Description (e.g., Wellness, nutrition and family products at best price and best quality).
Upload your photo.
Click on Create Store.
Step 6: Launch Store
Click Launch Store. 🎉Congratulations! Your store is now live.
Step 7: Complete Your Checklist
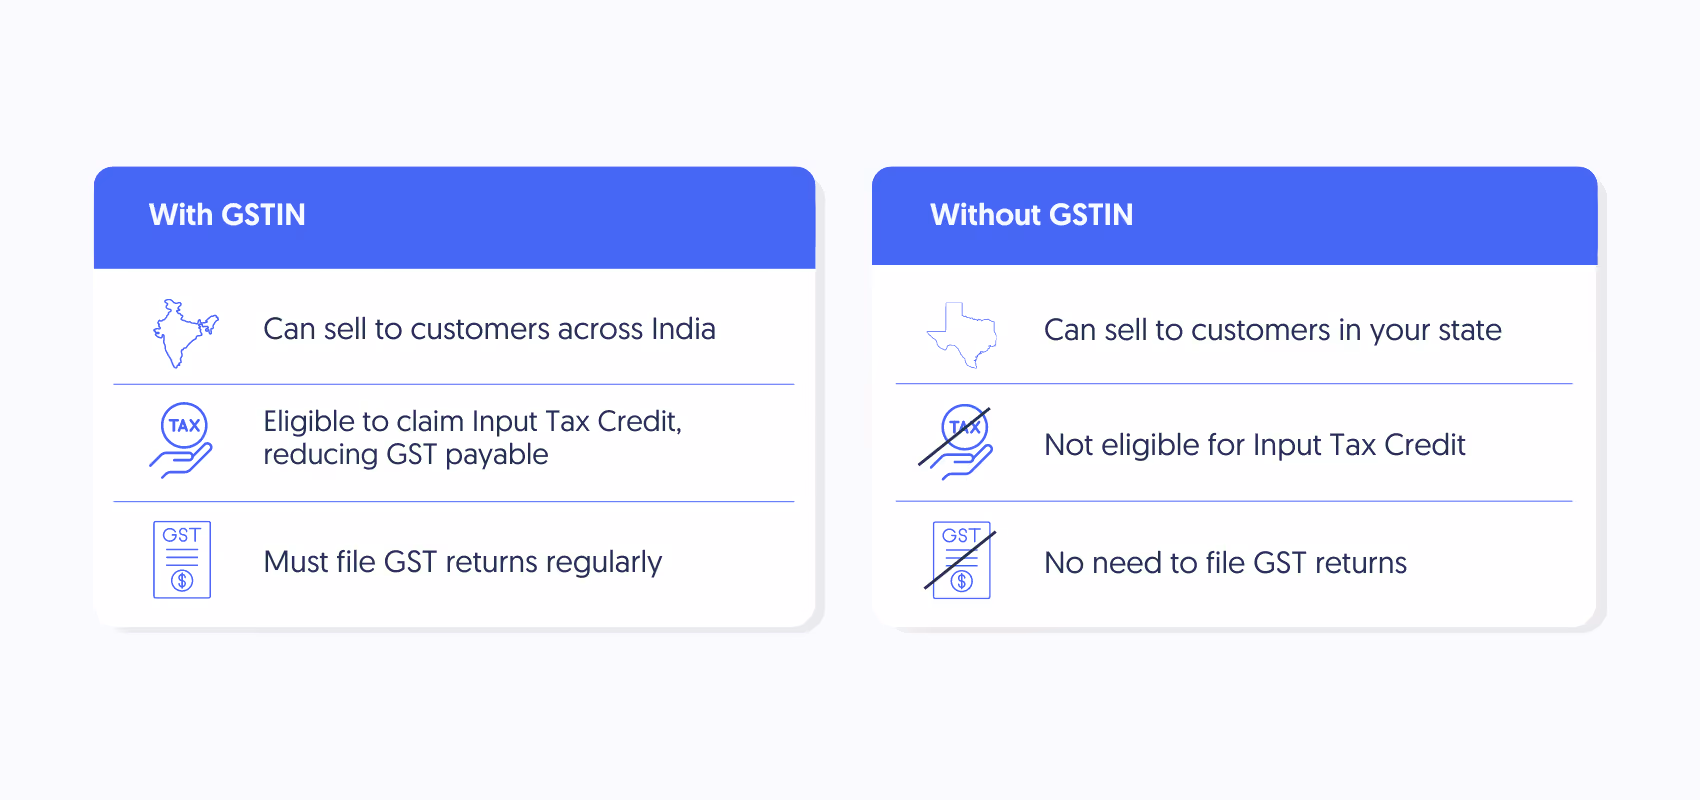
After launch, you’ll see a checklist to unlock all features. Example: Add GSTIN, upload bank details, set discounts.
Next Steps
Once your store is live, share the link with your clients and start promoting your store on social media or Whatsapp. We will keep track of orders, manage inventory, and help you grow your fitness business with ease.
.png)
.png)
.png)
.png)
.png)
.png)
.png)


.png)
.png)
.png)
.png)
.png)
.png)
.png)
.png)